


How To Make a Choker

We all remember having a large collection of stretchy chokers growing up, right? It’s not just us over here wishing we kept every single one? There’s nothing more nostalgic than a black elastic choker that made our parents roll their eyes and our classmates green with envy. Let’s be honest; there’s nothing more nostalgic than any choker.
As excited as we were to grow our beloved collection of skin-tight necklaces as kids, we were just as devastated when they seemed to vanish from everyone’s life. Or so we thought!
Come on, celebrate with us! Chokers are back, and with this post, we’re going to tell you how you can DIY endless numbers of these sought-after necklaces.
Let’s Get Into the Crafting
We don’t know about you, but we’ve added all the cute chokers we can think of back into our accessory rotation this past year, and we’d like it to stay that way; thank you very much! Lucky for us, chokers are incredibly easy to DIY, so we can have as many styles and colors as we want to match all of our outfits!
If you’re obsessing over this long-lost trend like we are here at Moeflavor, then read on to find out what materials you’ll need to make six of the most classic choker styles yourself.
The Classic Choker
Ahh, the most beloved choker we all wore until it snapped—you know the ones! They were usually black, stretchy, and (we’ve got to be honest here) itchy.
The good news is, when making these yourself, you get to choose what kind of materials to use and how tight your choker ends up being, so you can wear it all day and night. If that’s not throwback music to our ears, we don’t know what is.
For this classic beauty, you’ll only need four things:
- Stretchy cord (one yard in case you need extra)
- Scissors
- Ruler
- Tape
Take a quick trip to the craft store if you don’t already have these few materials. This style ends up being extremely easy to make, affordable, and will be a staple in your life.
The O-ring Choker
A little more unconventional but highly compatible with today’s fashion is the o-ring choker. This one will give you a more edgy, scene look, which we live for.
If that’s not something you’re into, you can swap out the black and silver materials for a fun colored ribbon and charms instead.
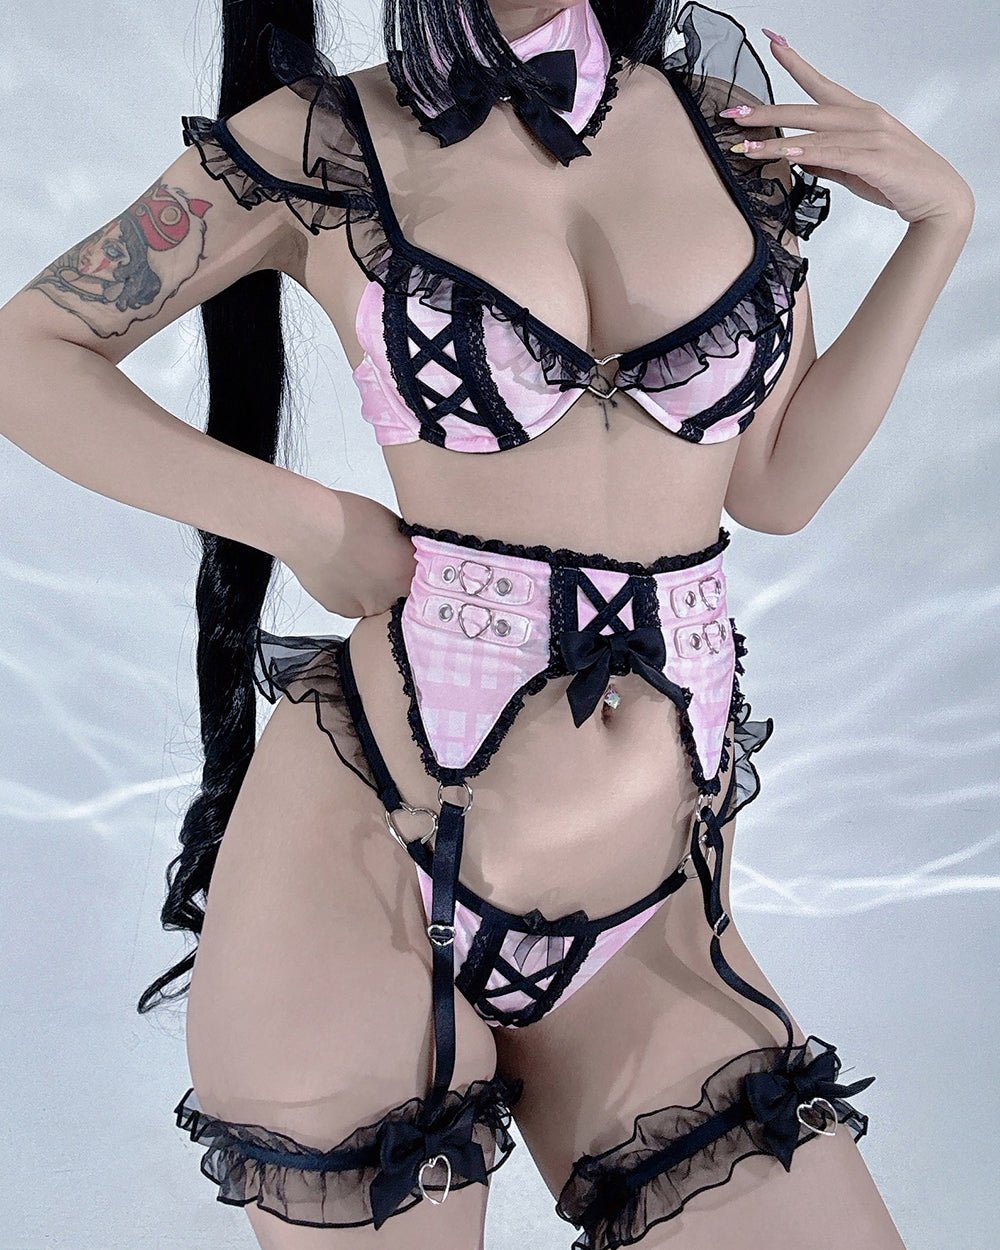
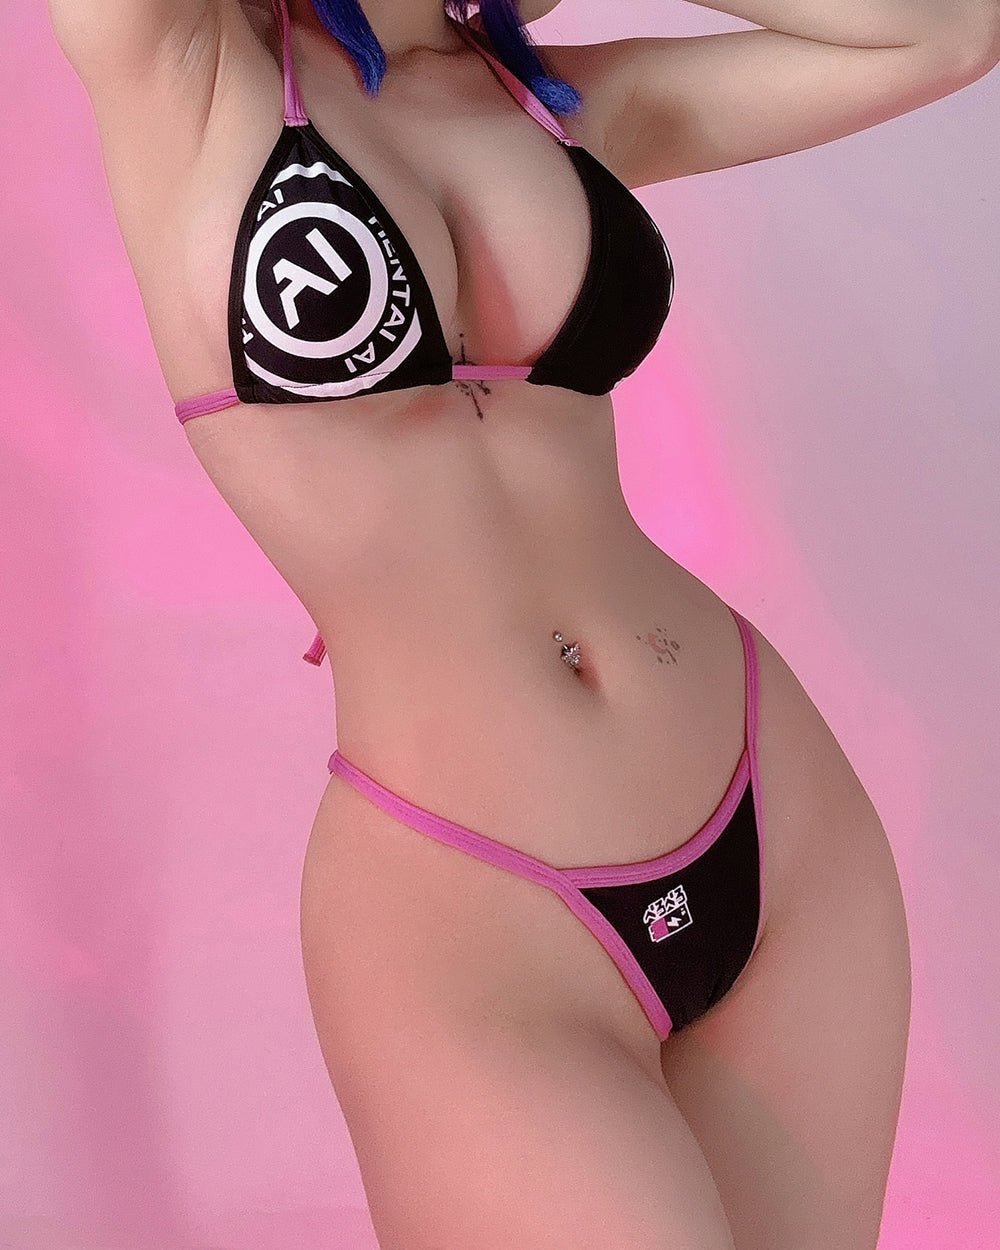
Speaking of the edgy look, we’ve got the perfect vinyl skirt to pair with this choker style. Wear this skirt as street style over a white bodysuit out and about or over a sexy pair of panties in the bedroom. Add the choker to both of these looks for an instant boost of daring confidence.
Here’s what you’ll need to make the o-ring choker:
- Faux leather cording
- Scissors
- Ruler
- Silver (or color of choice) jump ring
As we said, this style is more on the edgy side, but what can we say? We’re here for it. We can’t wait to see what kinds of twists you put on yours and how creative you can be with the design. Speaking of creative design, our next choker is one your younger self will totally be jealous of…
The Beaded Choker
Bring us the colorful beads (or the more neutral beads if that’s more your style)! Either way, these chokers are so on-trend.
We’ve been seeing beaded chokers everywhere lately. Tiny seed beads, super 90s puka shell beads, you name it, we’re into it. Whichever way you make your beaded choker, you’re going to make your past self both envious and proud.
Add these materials to your next shopping list to get started:
- An assortment of beads, shells, or gems of your choice
- Crimp tubes
- 4mm gold filled crimp bead covers
- 5mm open jump rings
- 6mm closed jump rings
- 7x12mm lobster clasps
- Metallic flex wire in gold
- Two chain nose pliers
- Crimping tool
- Scissors or clippers
This choker has a few more materials than the rest, but you can also simplify this tutorial that we found helpful to make your design more cost-effective. We can’t get enough of the way this choker stands out from the rest with its multiple details.
Speaking of standing out, you have to take a look at this statement choker.
The Statement Choker
Who doesn’t love something customizable, funky, and 100% unique? If you’re like us and that pretty much describes all you’ve ever wanted in a DIY project, then this one’s for you.
Instead of the smaller beads in this tutorial, we think some chunky and brightly colored alphabet beads would add a whole other level to the trend.
Here’s what you’ll need for this statement choker:
- Bold alphabet letter beads
- Other beads of your choice
- Jewelry pliers set
- Necklace memory wire
- Eye pins and jump rings
- Scissors
- Ruler
- Superglue
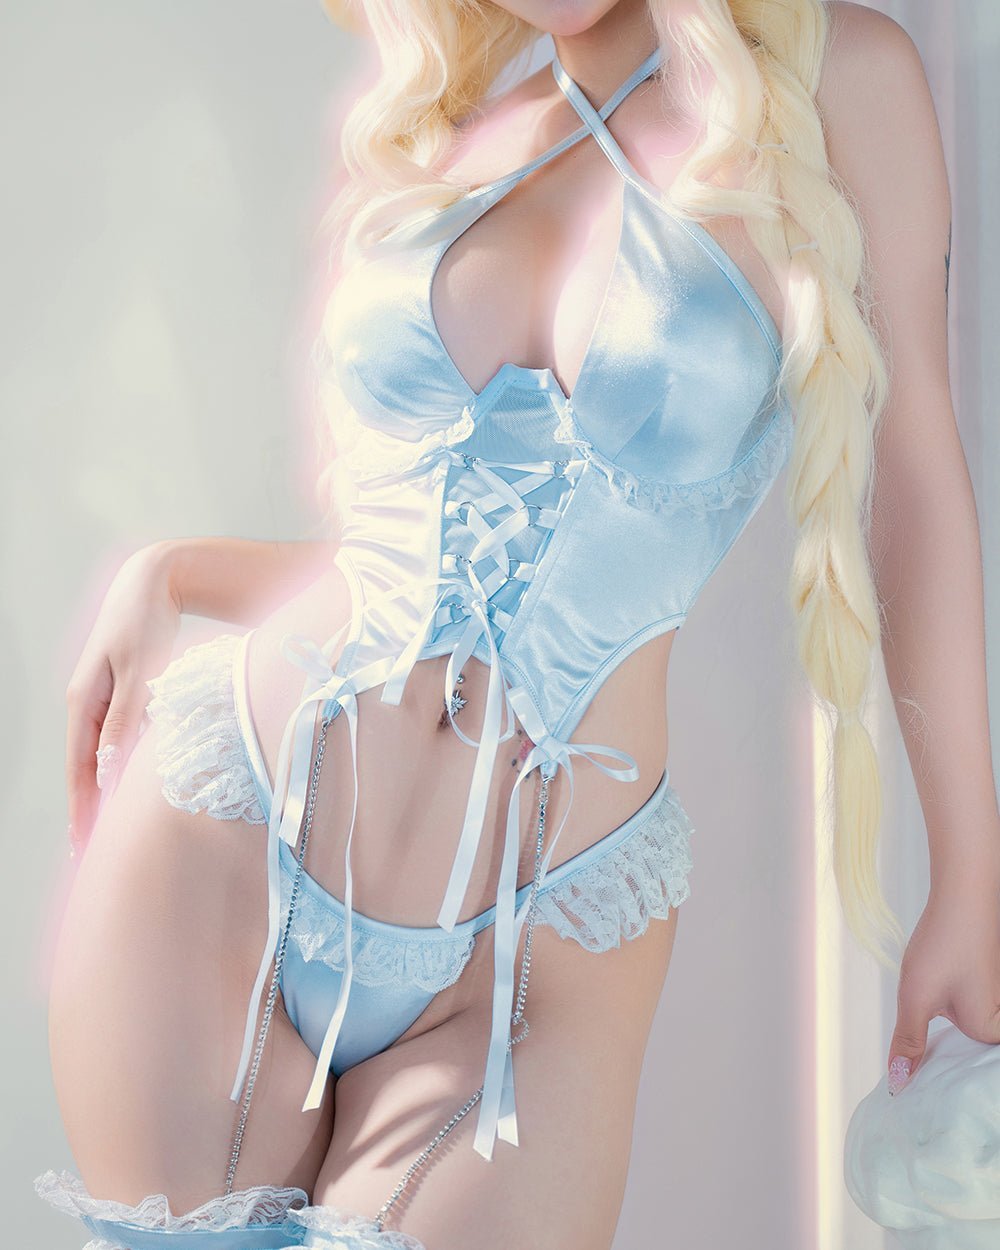
So cute, right? This choker would be a match made in heaven with this bodysuit. Stun all your friends with this one. This design is great because you can put your initials, cute nickname, or sassy phrase on it. On the other end of things, here’s a choker that’s so simple you’ll be able to make several of them.
The String Choker
Whether you decide to tie it in a bow or loop it around multiple times for an edgier look, the string choker will have all your friends asking where you got it. The joke’s on them; you made it at home!
If you couldn’t tell, we’re obsessed with putting a twist on all things fashion, and string chokers do just that.
They may sound simple, but their design packs a punch. String chokers are hands down the easiest to make out of these five options, but we think the simplicity of them adds the cutest and most thoughtful element to any outfit.
Here’s what you’ll need to make a string choker:
- String of your choice (we like velvet ribbon or thinner string)
- Ruler
- Scissors
Easy, right? All you have to do is measure out your string of choice, cut it to size, and tie it in the cutest bow around your neck. You can even make this a little less fitted for a different look.
We like how it looks to use thinner leather string wrapped around three times and then tied in a bow. You’ll need more string for this technique, so measure accordingly.
The Leather Choker
Leather chokers can look both boho chic and sexy. Pick your poison when designing this choker. No matter what look you choose, you’ll rock it and everyone will want one.
We love the fact that leather chokers have so many styles associated with them. Our favorite way to wear them is with a thicker black leather band. This style is especially classic, and we like to thank this tutorial for pulling out all the tips and tricks to give us the perfect DIY!
Grab these necessities to start making:
- Leather fabric
- Measuring tape
- Satin ribbon
- Black thread
- Needle
- Leather hole maker
- Clasp
- Scissors
- Marker
- Ruler
The materials list for this look is slightly longer, but when your finished product is as cute as the leather choker you just made yourself, it’s worth it.
A solid leather choker can have more than one vibe, which is such an added bonus. Make this necklace, and you’ll have an accessory for every outfit you can think of. Are you up for the DIY?
Ready, Set, Make
Basically, we’re in awe of all five of these looks and are sure you will be too. There’s no way you can go wrong with these simple, step-by-step guides to the cutest chokers. If you aren’t like us and haven’t been dreaming of the day chokers would be back in style, we hope we’ve shown you that they were and are all the rage.
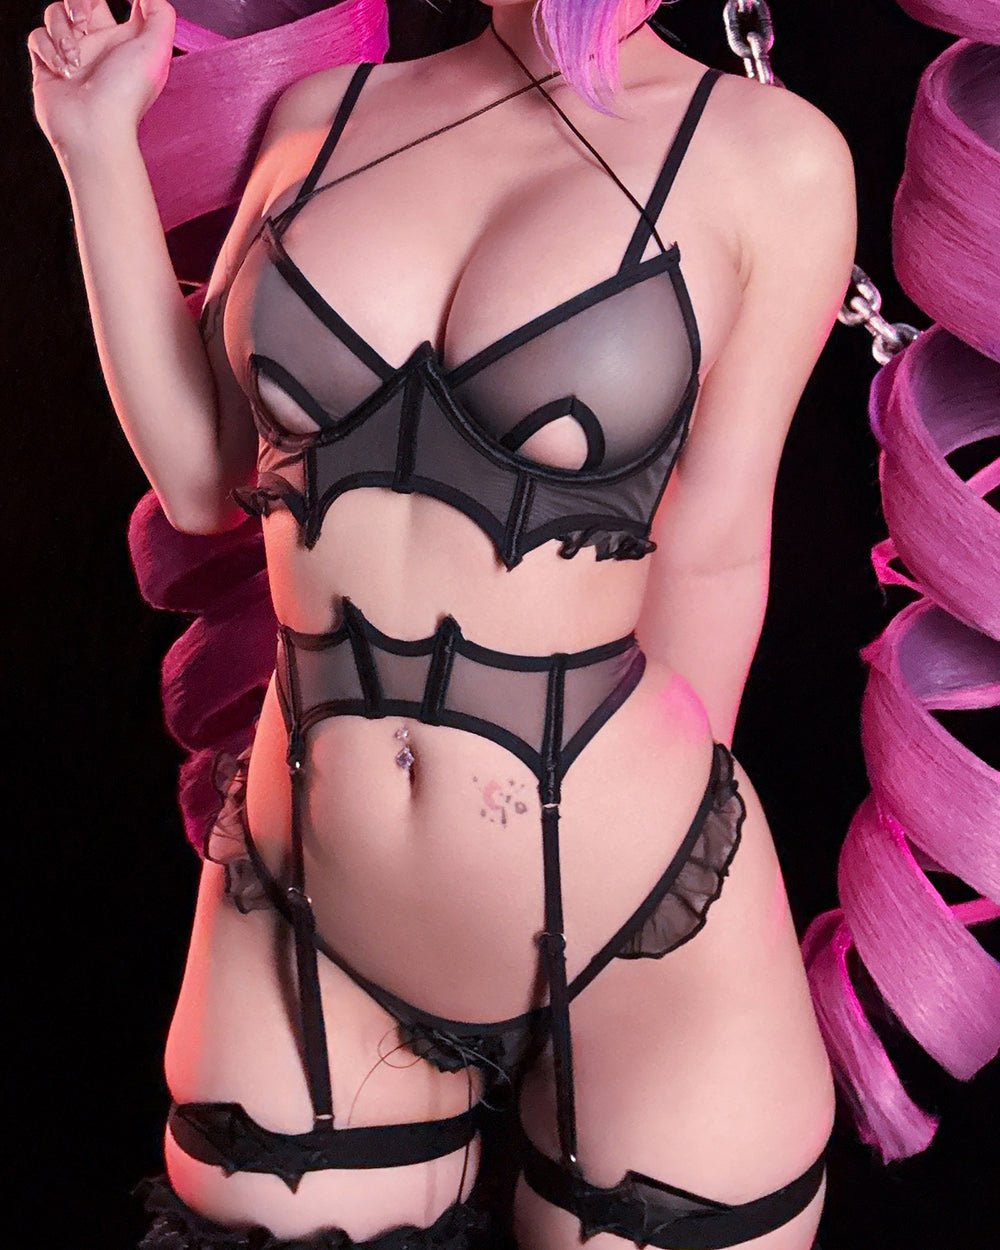
You’ll be the coolest kid on the block after making these necklaces, and we can’t wait to see how you style them. Take them from day to night by pairing them with our latest lingerie designs! Chokers fit right into the world of waifu-inspired lingerie, so we’re obviously in love.
Head on over to get even more inspiration for your choker crafting; we know you’ll find so many things your closet is dying to have!
Sources:
Forget Flower Crowns! Here's How to DIY a Choker | Brit + Co
DIY: Leather Choker: 8 Steps | Instructables
DIY Necklace (choker style) using BEADS + WIRE | JuneBeautique DIY